Click Here to see the entire photo library!
This project was featured on a TV show called “Right this Minute” on March 18 2013
Click HERE to see the clip on their site!
Get the Eagle Project HERE!
Get the PDF Schematic HERE!
The schematic pdf is Huge! Probably easier to just download Eagle to view the files.Get the PinOut Helper HERE!
**Arduino Code**
rev 7 HERE!
rev 11 HERE!
rev 12 HERE!
Revision Notes:
Rev 7 – First released code. This is what you see running in the demo video, and all the tutorial videos
Rev 11 – Fixed a bug in the Bit Angle Modulation, See the video How it Really Works for more information
Rev 12 – Fixed the Bitwise Operation to set pins LOW. I was doing it PORTX &= 0<<pinNumber, it should be PORTX &= ~(1<<pinNumber) The wrong way was ANDing every pin in the port with 0, where is the new way ANDs only the pin you want to turn OFF with 0 and the rest with 1.
Parts List to build an Arduino Controlled 8x8x8 RGB LED Cube
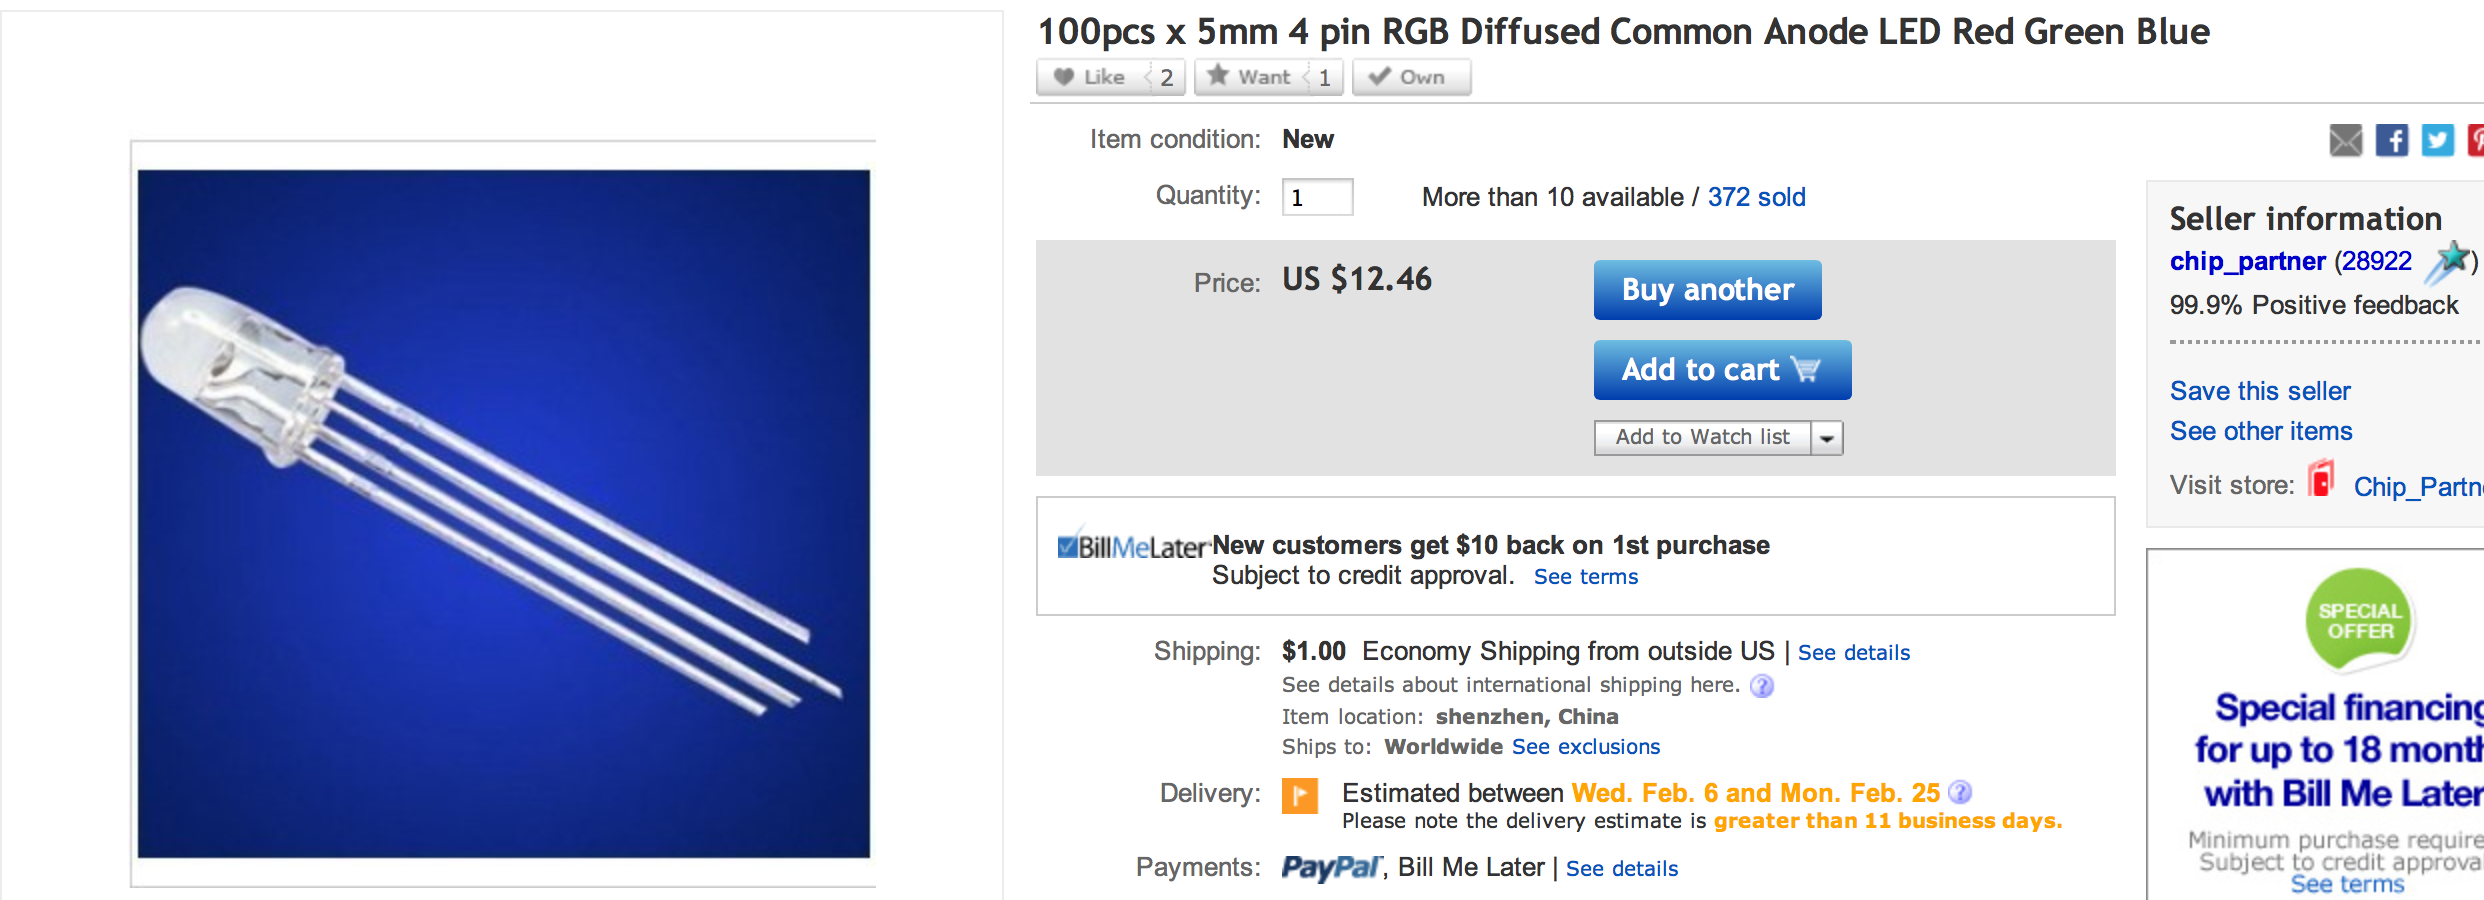
x512 RGB LEDs – I bought these from ebay.com from this link
– In case that link is dead, here is a screen shot from the page when I bought them:

The Power Supply – I bought this one; its a 120VAC to 5VDC@10A. I wish I would have went a little bigger. The power supply kind of ‘whines’ as you light all of the LEDs up at once. Probably a 15-20Amp supply would have been better
x10 Proto Boards – On this page I always get the 777, which I think is the best out there!
x200 NPN 2N3904 Transistors – On this page
x401 1kOhm 1/4W resistors – On this page -One extra to pull up the Blank Pin, see the theory video for more info
x328 100Ohm 1/4W resistors – On this page
x8 P-Channel MOSFETs IRF9Z34N – On this page
x25 Shift Registers 74HC595 – On this page
x1 10kOhm Resistor- On this page – For the arduino reset pull up
x30 (at least) 0.01uF capacitors – On this page – Put one of these on VCC to Ground for every IC – keep close to the power pin, also one in series with DTR pin on arduino standalone circuit from DTR to reset, pin-mapping cheat-cheat here
x1 16MHz crystal – On this page – I always get the low profile version
x2 22pF capacitors – On this page – Used on the crystal pins to ground for the arduino standalone
x1 ATMEGA328P-PU with Arduino Bootloader – from here, or program the bootloader yourself and get the micro from here
– I would also sprinkle in a few big capacitors on the supply rails near the Sources of the P-Channel MOSFETs. I used a couple 100uF electrolytic caps.
– The wire I used was 22AWG solid insulated wire from RadioShack. If I did it again, I would have searched for bare wire instead to save on all the stripping.
Taking a look back at how I got here…
It’s kind of interesting to see what I said I was going to do versus what I actually built!


