Difference between revisions of "Cheater Board"
| (4 intermediate revisions by the same user not shown) | |||
| Line 9: | Line 9: | ||
[[File:Cheatersch.png|760px]] | [[File:Cheatersch.png|760px]] | ||
| + | |||
| + | == Purchase == | ||
| + | |||
| + | [[File:tindie-larges.png|link=https://www.tindie.com/stores/kdcircuits]] | ||
== Assembly == | == Assembly == | ||
| Line 20: | Line 24: | ||
[[File:assyBoard.jpg|300px]] | [[File:assyBoard.jpg|300px]] | ||
| + | === Parts === | ||
It is up to you to order the parts. The list can be downloaded [http://www.kevindarrah.com/wp-content/uploads/2016/02/Cheater_v2_BOM.xlsx **HERE**]. This can be directly uploaded into [https://www.digikey.com Digikey] if you'd like, but not all parts are absolutely necessary. Here's the description for each part: | It is up to you to order the parts. The list can be downloaded [http://www.kevindarrah.com/wp-content/uploads/2016/02/Cheater_v2_BOM.xlsx **HERE**]. This can be directly uploaded into [https://www.digikey.com Digikey] if you'd like, but not all parts are absolutely necessary. Here's the description for each part: | ||
| Line 92: | Line 97: | ||
[[File:icspheader.jpg|200px]] [[File:icspcable.jpg|200px]] | [[File:icspheader.jpg|200px]] [[File:icspcable.jpg|200px]] | ||
| − | + | Here is a video to explain this process. | |
| − | + | {{#evt: | |
| + | service=youtube | ||
| + | |id=https://www.youtube.com/watch?v=dpgcBsl9D4k | ||
| + | |dimensions=560x315 | ||
| + | }} | ||
| + | Use the Arduino Mini from the drop down when running at 16MHz, and the Arduino Pro (ATMEGA 8MHz) when running at 8MHz. | ||
====Serial Port - Arduino IDE==== | ====Serial Port - Arduino IDE==== | ||
| Line 100: | Line 110: | ||
[[File:wProgrammer.jpg|150px]] | [[File:wProgrammer.jpg|150px]] | ||
| − | An FTDI based USB to Serial Converter is recommended. See my contact page if you're interested in the one I designed. | + | An FTDI based USB to Serial Converter is recommended. See my contact page if you're interested in the one I designed - as shown in the picture above. Supports 5V & 3.3V systems, and a jumper to connect/disconnect power to the target. |
Latest revision as of 09:16, 25 September 2018
Contents
Introduction
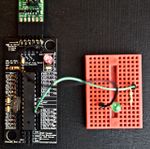
The Cheater Board is essentially an AVR (ATMEGA328P-PU) breakout board. It was designed to act as a quick reference for Arduino related projects - especially when the ATMEGA328 is being used on a breadboard. Note that the board is a functional AVR development board, meaning that it can be made to be compatible with the Arduino IDE. See Assembly below for instructions.
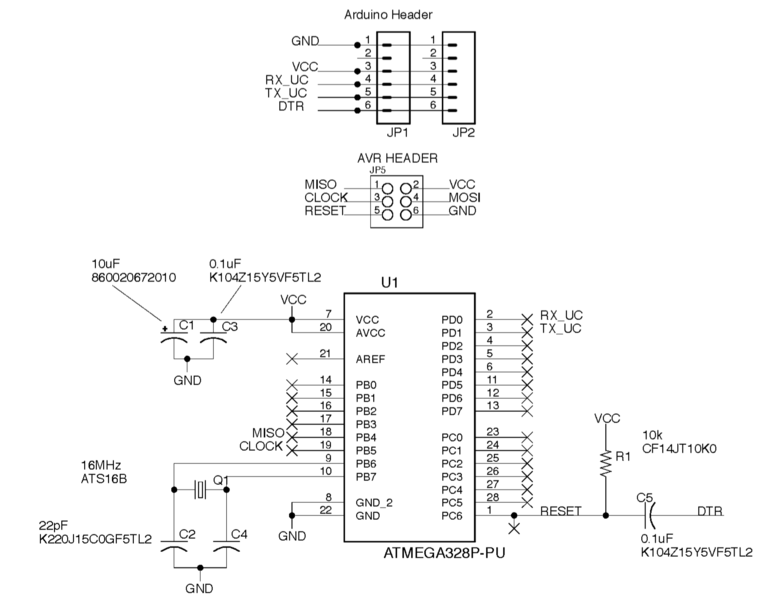
Here's the schematic for reference:
Purchase
Assembly
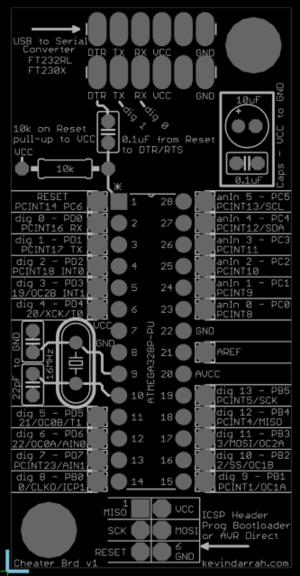
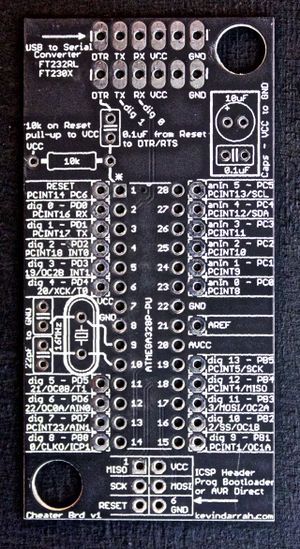
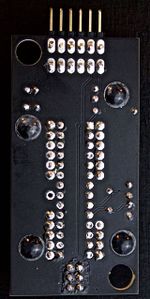
The board ships as a bare board like this:
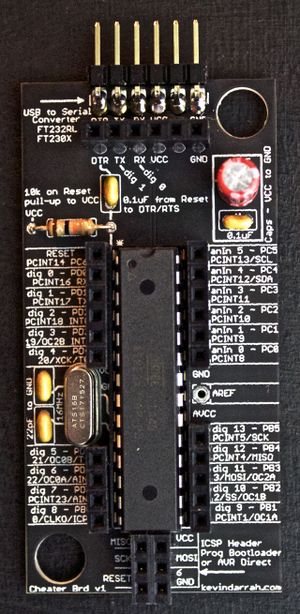
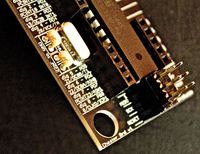
As mentioned previously, the bare board can be used as quick reference for the pinout of the ATMEGA328, how to wire up a standalone Arduino compatible circuit on your bread board, and for the pinout for the ICSP for programming boot loaders. The board can also be assembled, which looks like this:
Parts
It is up to you to order the parts. The list can be downloaded **HERE**. This can be directly uploaded into Digikey if you'd like, but not all parts are absolutely necessary. Here's the description for each part:
Electrolytic Capacitor
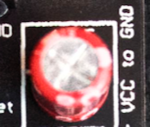
Be careful placing the electrolytic capacitor! This is a polarized part, meaning that it must go in only one way. The stripe on the side of the capacitor indicates the negative terminal. The board has '+' marking indicating that this is the positive terminal. Do not connect this backwards! The capacitor is used as a filter to provide a clean voltage for the Microcontroller.
0.1uF Ceramic Capacitors
There are two 0.1uF capacitors on the board. The one to the left is used for programming the microcontroller from the Arduino IDE. It connects between the Reset pin of the Micro and the DTR/RTS pin of the USB-Serial converter. A low pulse is passed through this capacitor placing the microcontroller in a Reset state, thus allowing it to be programmed via the Serial Port. The capacitor to the right provides further filtering of the DC voltage for the microcontroller. Ideally this capacitor would be placed as close to the VCC pins of the Microcontroller as possible. A good rule of thumb is to use one 0.1uF capacitor for every VCC pin on the device. Having said that, two 0.1uF capacitors should be used here - one for the VCC pin on the left, and another for the AVCC pin on the right. As an evaluation/test board, this is okay, and the board should work reliable as is. Note that these capacitors will look almost exactly like the 22pF capacitors, so pay attention to the markings on them - you should see 104. Also, these are not polarized, so they can go in either way.
16MHz Crystal
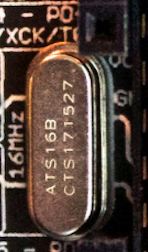
The 16MHz Crystal is used to clock the microcontroller. As an alternate, an 8MHz Crystal can be used, but a different boot loader needs to be programmed in order for timing functions to work as expected. A suitable 8MHz Crystal is the ATS080B. This part is not polarized and can go in either way.
x2 22pF Capacitors for Crystal
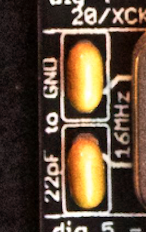
These two capacitors are used to match the load capacitance of the crystal, which tunes the oscillator to allow the clock of the Microcontroller to run reliably. These are not polarized components, so they can go in either way. Make sure you don't mx these up with the 0.1uF capacitors. You should see a "22" marking indicating 22pF.
10k Ohm Resitor for Reset Pin
This resistor is used as a pull-up on the Reset pin of the Microcontroller to keep it out of reset, which means that it can run. The resistor color code is Brown Black Orange - the tolerance is not important. Not a polarized part and can go in either way.
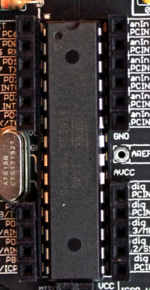
ATMEGA328 MCU and 28pin Socket for MCU
It is up to you if you'd like to use a socket or not for the Microcontroller. It comes in handy if you ever make a mistake like connecting the voltage up backwards, over voltage, short circuit output, etc... Then you can simply swap out the Microcontroller. The only problem with the socket is that it can be tricky to get the 28 pins to all line up in the socket. Be careful with the orientation of the Microcontroller - make sure pin 1 on the Micro matches pin 1 on the board.
right angle 6 pin male header
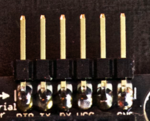
The right angle 6 pin male header is used for programming the Microcontroller from the Arduino IDE. Most USB to Serial adapters are compatible with the board, but make sure that the pinout matches what is printed on the board.
vertical 6 pin female headers, vertical 4 pin female header, vertical 5 pin female header
The female headers on the board allow wire-board connections to be made. They are not absolutely necessary, especially if the board is to be used for a permanent installation. In that case, wires may be soldered directly to the board.
3x2 ICSP header MALE, 3x2 ICSP header FEMALE
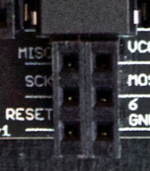
Be sure to solder the female 3x2 female header to the board. The 3x2 male header serves as an adapter for ribbon cable IDC type connections to the ICSP header. This connector is used to program the Microcontroller via the native ICSP port - for Arduino compatible applications, this port is used for programming the boot loader.
optional - rubber feet
The rubber feet add a nice convenience to working with the board. It keeps the board from sliding around the bench and from the sharp pins on the bottom of the board from scratching up the work surface. Note that in order for the rubber feet to be effective, all of the pins must be cut very close to the board. This includes the 28 pins from the microcontroller and all of the headers.
Programming
ICSP - Boot loader
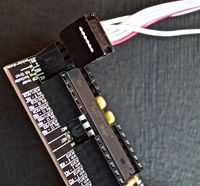
The ICSP programming header can be used to program the Bootloader to the Microcontroller. This makes the board compatible with the Arduino IDE. The Female header on the board can be wired over to another Arduino Compatible board running Nick Gammon's ATMEGA Board Programmer Sketch. The board may also be programmed with an IDC type ribbon cable from another Arduino, but the 3x2 male header must be used:
Here is a video to explain this process.
Use the Arduino Mini from the drop down when running at 16MHz, and the Arduino Pro (ATMEGA 8MHz) when running at 8MHz.
Serial Port - Arduino IDE
Once the Bootloader is programmed, a USB-Serial converter can be used to program the Microcontroller from the Arduino IDE. Make sure the pinout of the USB-Serial converter matches the text on the board. Note that TX and RX are referenced to this board, so the converter used should line up like: TX -> RX and RX <- TX The DTR pin may also be compatible with an RTS pin provided by the converter.
An FTDI based USB to Serial Converter is recommended. See my contact page if you're interested in the one I designed - as shown in the picture above. Supports 5V & 3.3V systems, and a jumper to connect/disconnect power to the target.
