Difference between revisions of "Pusher"
(→Tutorials) |
|||
| Line 87: | Line 87: | ||
I'm using Pushbullet for the Notifications: https://www.pushbullet.com | I'm using Pushbullet for the Notifications: https://www.pushbullet.com | ||
That's nice because you don't need to develop your own app or anything. Just set up an account with them and you're good to go. Go to settings, account, and API - generate your token and copy that whole thing into the code - should be something like o.xyz... | That's nice because you don't need to develop your own app or anything. Just set up an account with them and you're good to go. Go to settings, account, and API - generate your token and copy that whole thing into the code - should be something like o.xyz... | ||
| − | |||
THE CODE [http://kevindarrah.com/download/arduino_code/pusher_PUSHBULLET.ino HERE] | THE CODE [http://kevindarrah.com/download/arduino_code/pusher_PUSHBULLET.ino HERE] | ||
| − | |||
Richard's Channel: https://www.youtube.com/channel/UCLgqthbPlZGr8DuHDKKr9EA | Richard's Channel: https://www.youtube.com/channel/UCLgqthbPlZGr8DuHDKKr9EA | ||
And where I found the Pushbullet API code: https://steve0hh.github.io/2016/12/04/how-to-send-push-notifications-using-esp8266.html | And where I found the Pushbullet API code: https://steve0hh.github.io/2016/12/04/how-to-send-push-notifications-using-esp8266.html | ||
Revision as of 19:22, 18 July 2017
...Back to Projects:
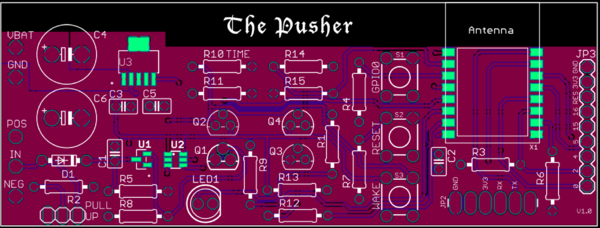
The Pusher Board is an IoT project that does one thing - it pushes you a notification triggered by a digital input. Well, it's much more than that, but this is the inspiration. I wanted to design a WiFi board that essentially sleeps most of its life, but when that door switch, flood sensor, motion sensor, etc.. gets triggered, I just want a notification immediately on my phone. And that's about it... a perfect IoT device in the background doing its job.
Version 1
Very first prototype board
- Mostly through hole components for easy testing and assembly
- ESP8266 based (ESP-12S module)
- Wake on regular timer interval - set for 1hr during my testing.
- Wake on Digital Input - Normally Closed type contact, so works nicely with door sensors.
- Tested sleep current <1uA that's years and years of battery life.
- Max Battery Voltage is ~4.2VDC, so designed to be used with standard Lithium Batteries.
- Note: this board does require re-work in order to exercise all of the functionality. Please watch assembly videos below for detailed information
Here's a quick demo!
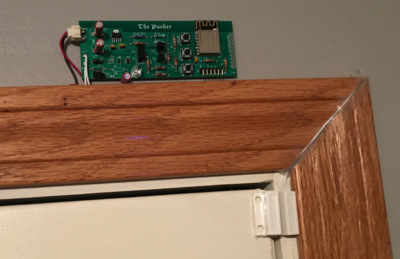
Installed on my door for testing:
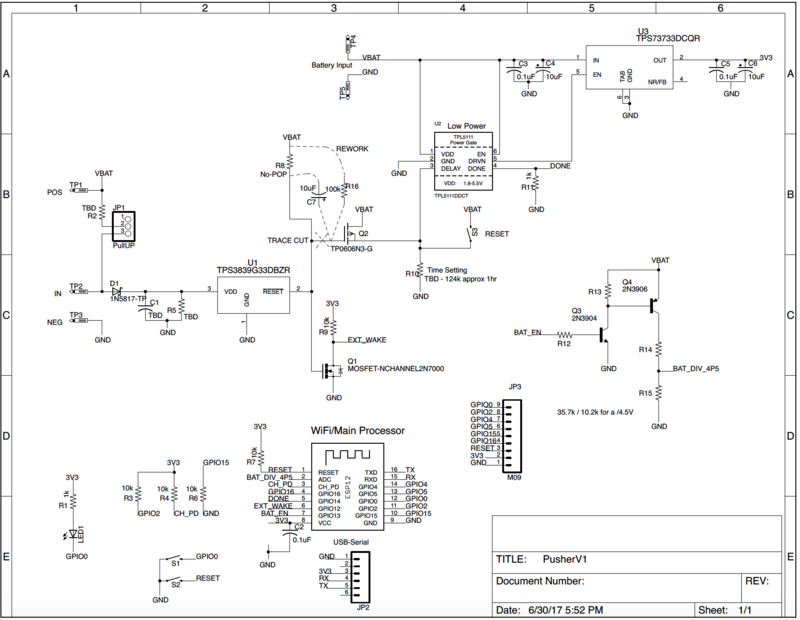
Schematic
Purchase
given to Patrons
Parts
Parts list HERE
Assembly
Soldering the board together:
The rework changes:
Battery Voltage Measurement Circuit Change:
Tutorials
Programming and Testing the board:
That Sample Code HERE
Pusher Board Sending Push Notifications with Pushbullet and hardware walkthrough
I'm using Pushbullet for the Notifications:  https://www.pushbullet.com
That's nice because you don't need to develop your own app or anything.  Just set up an account with them and you're good to go.  Go to settings, account, and API - generate your token and copy that whole thing into the code - should be something like o.xyz...
THE CODE HERE
Richard's Channel: https://www.youtube.com/channel/UCLgqthbPlZGr8DuHDKKr9EA
And where I found the Pushbullet API code:  https://steve0hh.github.io/2016/12/04/how-to-send-push-notifications-using-esp8266.html
And if you're having problems getting the Arduino IDE setup, check out this video:
The .json url HERE


